



SHORT ANSWER
Start with Jenny's Scrap value / bombs route
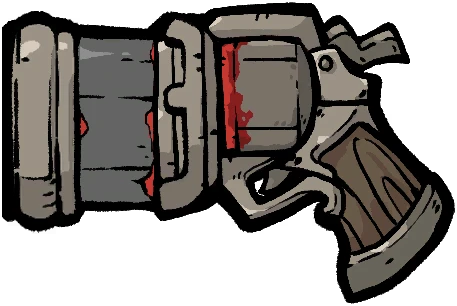
Jenny gives a run a floor when weapon rooms miss, but the weapon still has to work before the economy is allowed to scale.
How to use this result. Start with the route that matches this difficulty's risk profile, then adjust for the drops and failure point in your current run.
What changes at Hard
The first measured step after the Common/Normal clear. A build that only functions when every offer lines up starts to lose too many runs here.
Secure a weapon you can keep.
A stable element, Simple Modification, and one bomb effect before greedier economy pieces.
Check: If the gun cannot clear a room, dismantling more drops only delays the failure.
Make bombs cover the weak moments.
Twin Bombs, Cluster Bomb, Battle Skill Damage, and a relic that rewards dismantling.
Check: The economy should now improve the next offer, not just create a larger counter.
Turn the loop into a finishing engine.
Dismantle value, element scaling, and a safe damage window for elites and bosses.
Check: Keep the weapon that works; only dismantle it when the replacement fixes a measured problem.
Boss and crowd priorities
Prioritize bomb uptime and a stable single-target element. The economy matters only if it produces a damage or survival upgrade before the next boss check.
This is Jenny's natural matchup: Twin Bombs, Cluster Bomb, and an element that spreads through the room. Use the bomb to buy time for a weaker weapon.
When the recommended core is missing
Run the direct bomb route: keep the best stable weapon, stack Battle Skill Damage, and treat every dismantle as optional value.
Do not: Do not dismantle a weapon that is carrying the room just to preserve an economy fantasy.