CURRENT DATABASE // WEAPONS
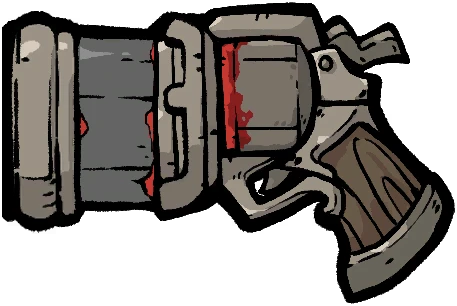
A weapon is the most visible choice in a run, but it is not automatically the most important choice. The right weapon gives the route a repeatable event: shots that trigger a status, a reload that creates a payoff, a skill that feeds every bullet, or a safe rhythm that lets the Hunter reach the next checkpoint. This guide is for the moment when two icons look attractive and you need a reason to commit.
The current database records element, effect text, tags, evidence level, and the routes that use an item. Those fields are a starting point for judgment, not a permanent tier list. Read the actual tooltip in the current patch, compare the weapon with the route already on screen, and use the Planner to expose a conflict before it costs the run.
Read the element before the rarity
Element is the first useful filter because it tells you which Transmutation family the weapon can feed. A rare weapon in the wrong element can leave the rest of the loadout with disconnected relics, Tarot, and skill choices. A lower-rarity weapon that preserves the element already appearing in the run can be the more valuable decision because it keeps several small advantages working together.
This does not mean an element is a prison. A weapon can be worth changing when its firing event fixes a real bottleneck, when the replacement supplies target coverage the run lacks, or when the old engine has stopped appearing. The decision should name the problem being solved. If the only reason is a brighter rarity color, keep looking.
Firing rhythm is part of the effect
Two weapons with the same element can play completely differently. One may produce many small checks that feed extra-shot, mark, or status effects; another may concentrate its value in a slower charge, a last shot, or a single-target window. The database therefore keeps firing rhythm and trigger tags beside the name. When you compare weapons, ask how often the effect can happen in the rooms you are actually failing.
Reload time deserves the same attention. A weapon that looks stronger per shot can lose real output when it spends long gaps doing nothing, while a faster weapon can create more opportunities for the rest of the route. The goal is not to worship fire rate. The goal is to understand what the weapon does between the numbers shown on the card.
Separate boss pressure from crowd control
A weapon that clears a room can still be a poor boss answer, and a weapon that deletes one durable target can leave the early rooms unsafe. Use the boss and crowd tags as questions: does the weapon keep useful pressure on a single target, does it reduce the number of enemies in a pack, or does it need another item before either job becomes reliable? A good route often needs one clear primary job and a modest answer for the other.
When a boss is the immediate problem, test sustained access rather than one lucky critical hit. When crowd damage is the problem, watch what remains after one action and whether the weapon keeps you safe while it works. This simple split prevents a late-game weapon from being judged in a room where its actual job cannot appear.
Build a replacement plan before the ideal drop
A strong weapon route should survive imperfect offers. Before committing, identify the same job in a different element, a safer generalist weapon, or a skill and relic combination that can carry the missing event for a few rooms. This is especially important for a Hunter whose core route depends on one named weapon. The fallback does not need to reach the same ceiling; it needs to keep the run alive long enough to find the next decision.
The best replacement preserves at least one of the original route's anchors: element, firing frequency, target coverage, or survival. If it preserves none of them, it is a new route and should be treated as a pivot, not as a small upgrade. Open the corresponding item page and Planner link before making that pivot so the consequences are visible.
Check the patch before trusting an old weapon take
This site is reviewed against patch 1.0.479, and weapon effects can change faster than guide titles do. A patch note may alter a Transmutation, a projectile count, a reload interaction, or the way a forged version behaves. That is enough to change which support items are worth a slot even if the weapon name remains familiar. Use the current tooltip as the authority and treat older route language as a hypothesis to recheck.
The site marks uncertain relationships instead of filling the gap with a made-up DPS number. If you test a weapon and learn something repeatable, record the conditions: Hunter, element, support tags, target type, and patch. A small, reproducible observation is more useful than a ranking with no explanation.
Five questions to ask before you commit
- What event does this weapon repeat, and which current item already feeds that event?
- Is the next problem boss damage, room clear, reload downtime, or survival?
- What lower-ceiling weapon keeps the same route alive if this one does not appear?
- Does the current patch tooltip still match the route note?
- Can you explain the pick in one sentence without mentioning rarity first?
Start with the most connected entries
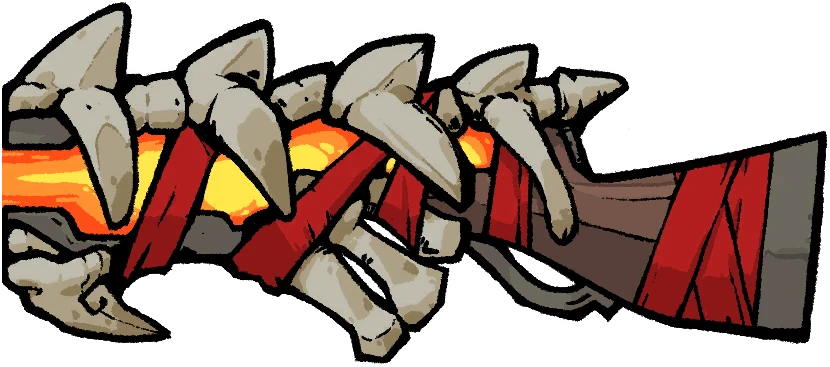
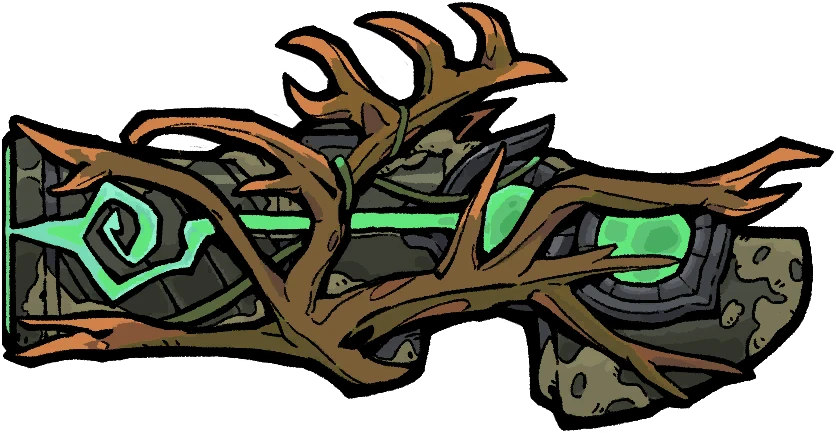
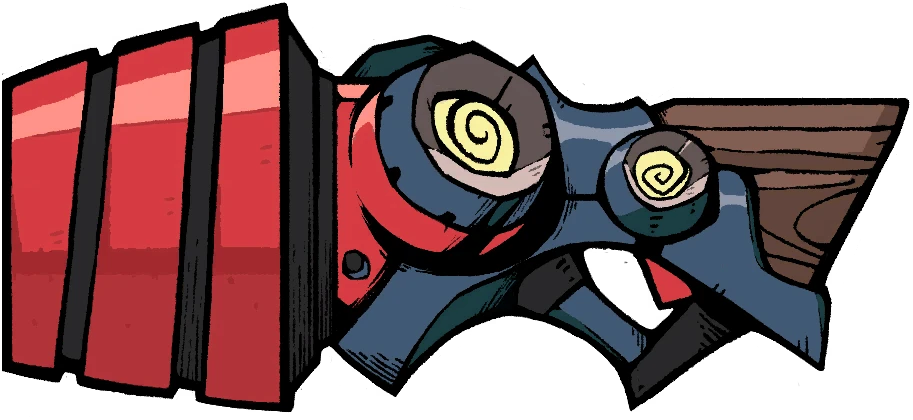
These are starting points from the current planner database, not a promise that one entry wins every run. Open the entry for its effect text, route notes, related picks, and a direct Planner link.

Turn the guide into a live decision
Browse the full weapons index, open the object you actually see, and send it into the Planner. The best choice depends on the Hunter, weapon, stage, and missing trigger in front of you.
Open the full item library Open a Planner example